
Setting Up Your Company Profile
Once you've registered, you'll need to create a company profile before accessing any Bitnob product. It's a one-time step and it takes about a minute.
You'll fill in two things:
Company Name: your registered business name as it appears on official documents.
Business Summary: a short description of what your business does. You have 88 characters to work with, so be specific. Something like "Cross-border payment infrastructure for African businesses" works much better than something vague like "We provide financial services."
There's a live preview panel on the right so you can see exactly how your profile will look. You can always update your company details later by going to Company in the Settings sidebar.
Once your profile is saved, you'll land on the Settings page.
Understanding the SettingsPage:
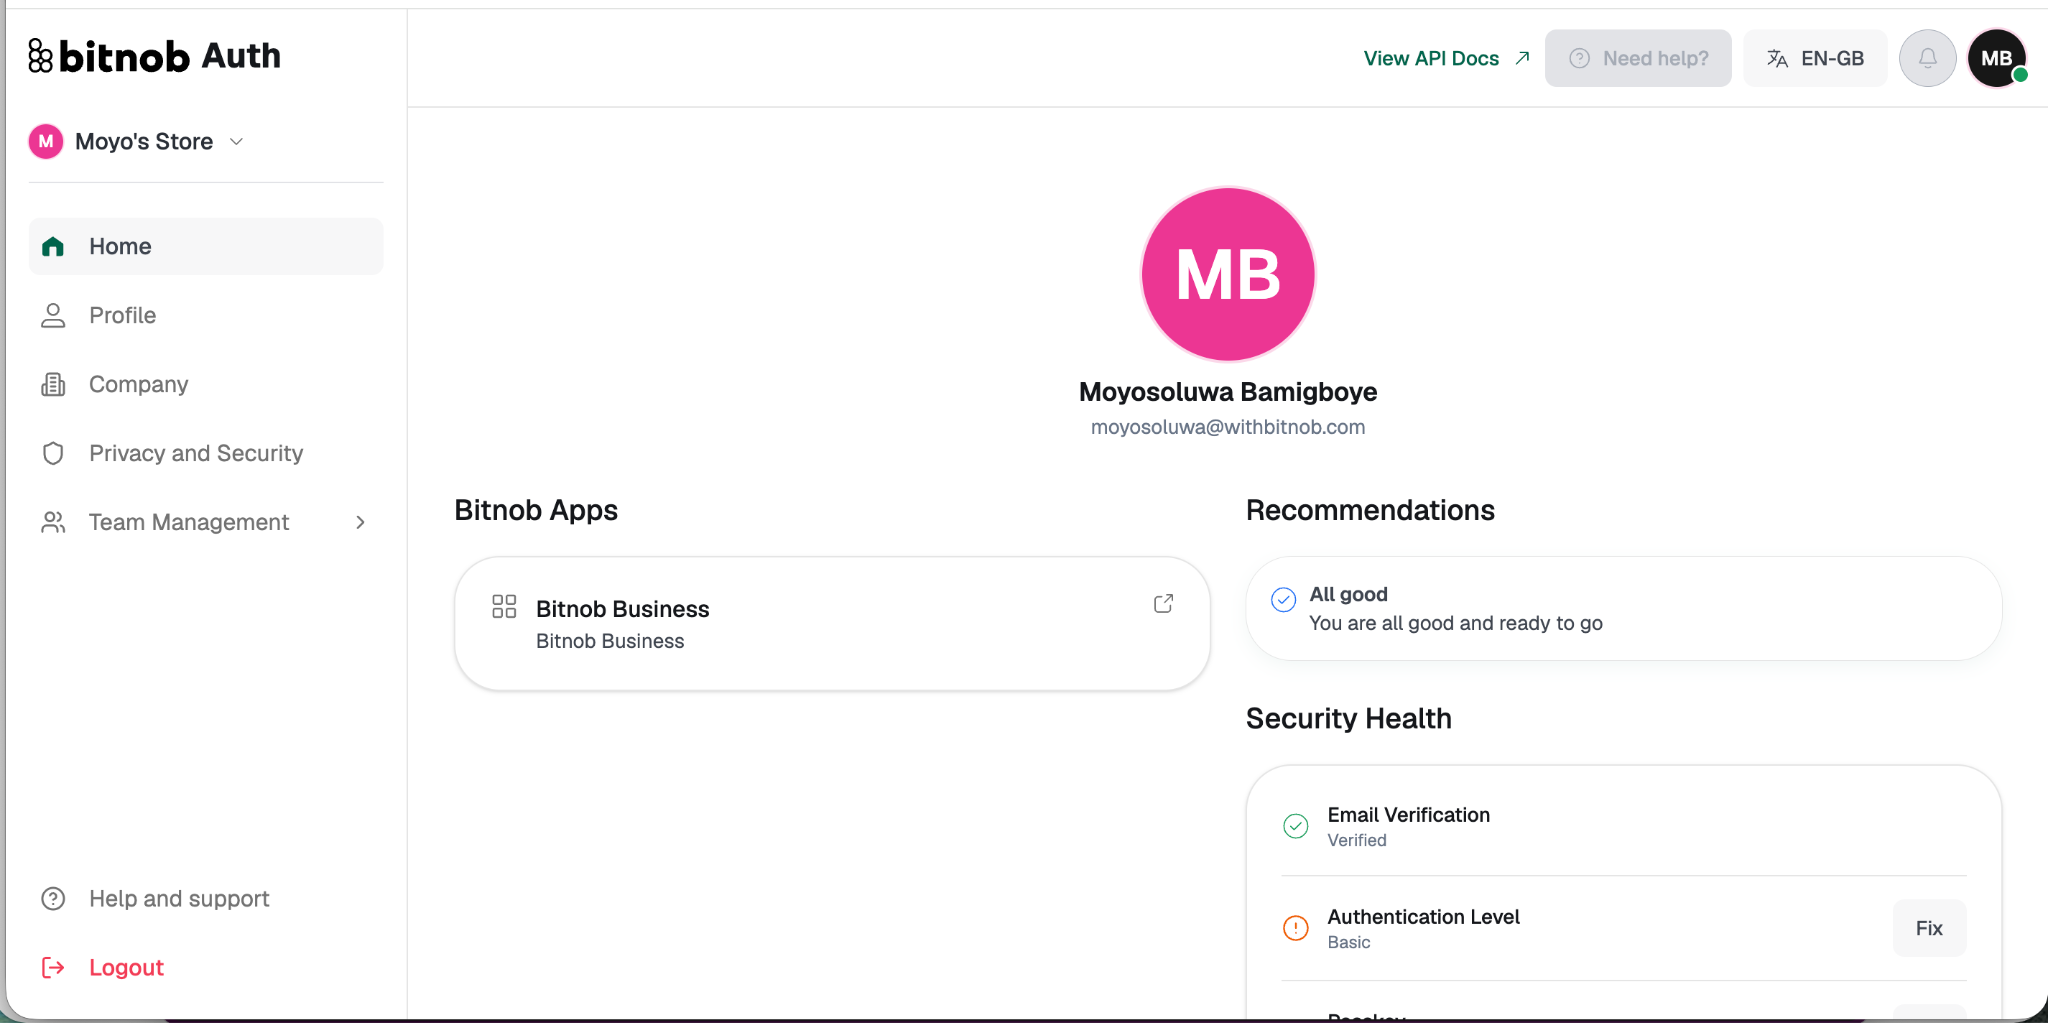
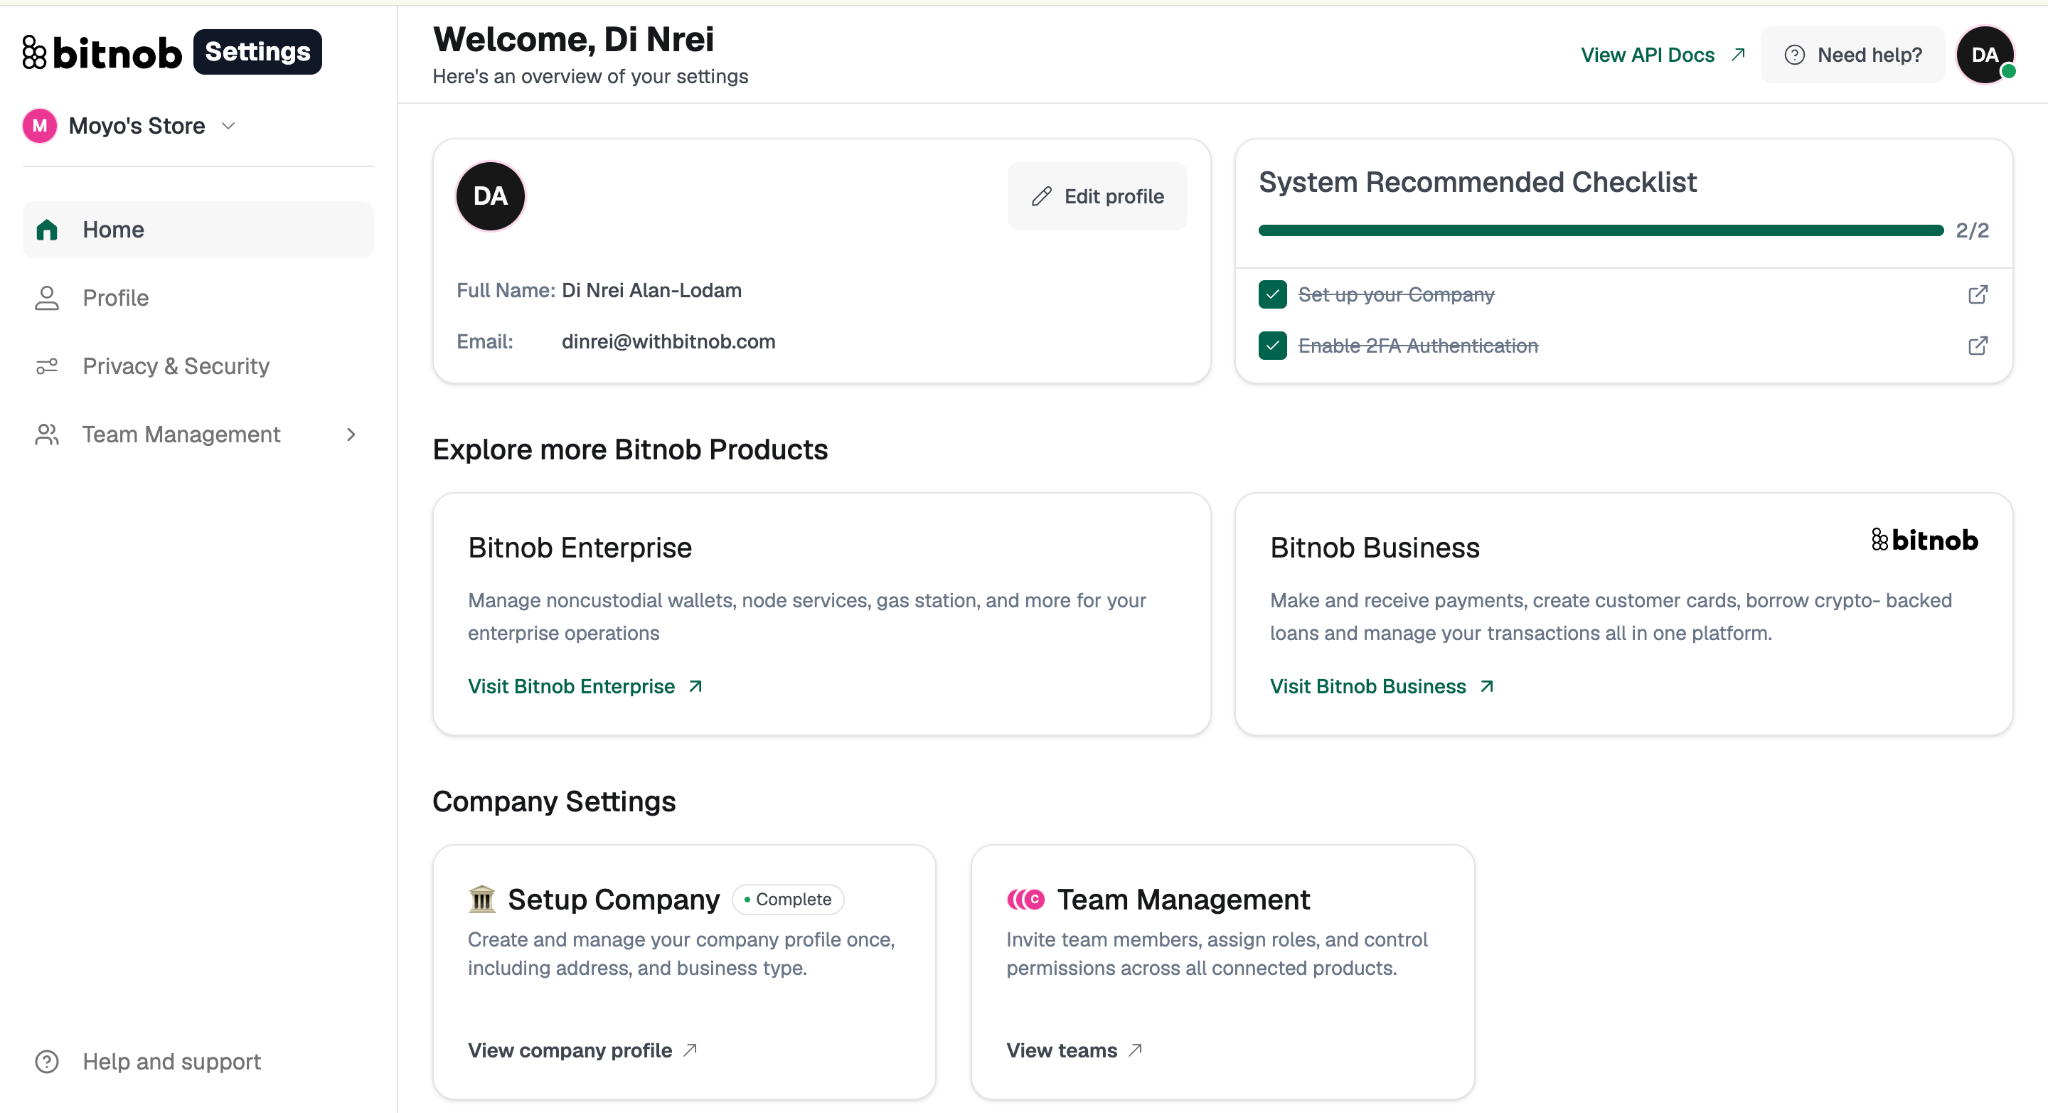
Here's what you're looking at:
The upper section of the page shows your profile card displaying your name, email address, business name, role, and security level, with an Edit profile shortcut alongside it. You'll also see the System Recommended Checklist, which tracks your setup progress. Items are checked off as they're completed. The checklist currently covers: Set up your Company, and Enable 2FA Authentication.
Scrolling down, you'll find:
Explore more Bitnob Products: Your entry points to Bitnob Enterprise and Bitnob Business.
Company Settings: Three cards giving you direct access to Setup Company (marked Complete once done), KYB & Compliance, and Team Management.
Current sessions: A live log of active device sessions showing Device name and IP address.
The Bitnob Settings Overview sidebar gives you access to your Profile, Privacy and Security, Team Management, and Help and Support.
Related articles: